Most of what stops people balancing isn't strength. It's fear. You build the kick up into a huge deal, and the fear stays, so you never actually learn to balance, because you're constantly scared about when you're going to tip over.
You never commit to the point where a strength exercise or a balance exercise can be built. So the first job is to get used to falling out safely and gracefully enough that it stops feeling like a big deal.
The thing that makes it work is making it light. The lighter the fall, the easier every one of these drills gets, because it builds in the brain: this is a light exercise, it doesn't take tonnes of effort.
Here's the order I take people through. It's weeks, not a session, depending on where you're starting from.
Basic bail outs.
The first thing is just the basic bail outs. Hands down, jump up a little, turn round to the side, land on your feet. Either a small cartwheel or spinning out to the side, rather than tipping over into a wheel or falling onto your back.
The key is where you start from. Shoulders over the hands before you kick, and the hips already high, so you're not travelling a long way to get into position on the first kick up.
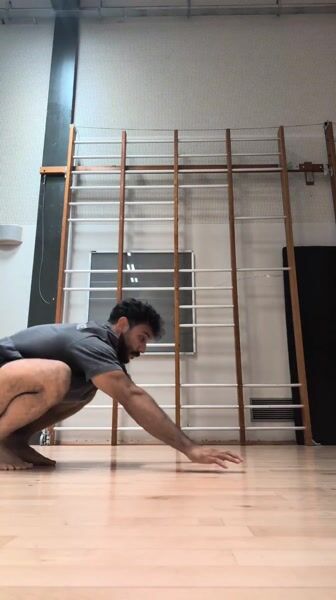 1Shoulders over the handsBefore you kick. Hips already high.
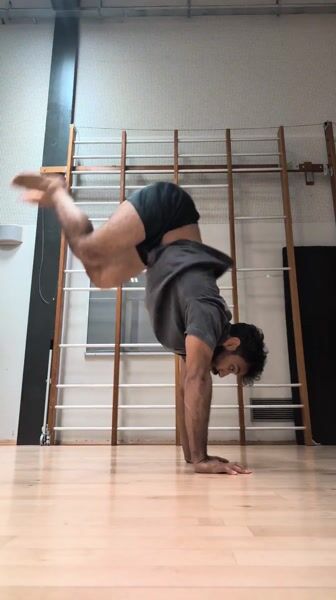 2Jump up a littleNowhere near vertical.
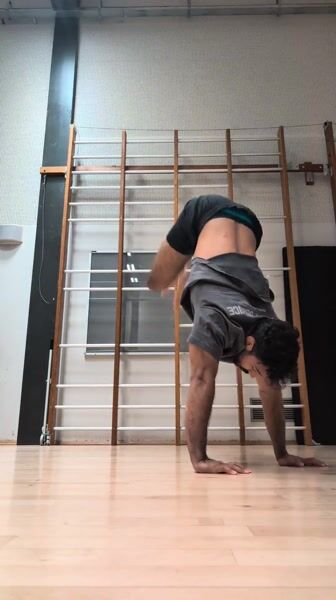 3Turn to the sideNot over the top, not onto your back.
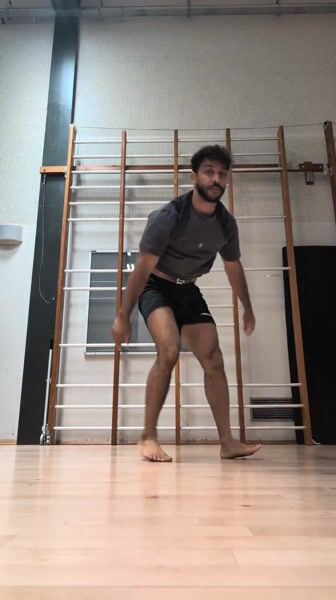 4Land on your feet, go againLight. If it feels like effort, make it smaller.
Shoulders over the hands, hips high, before you kick. Then jump, turn, land. The lighter it is, the more your brain files it as nothing.
Cartwheels, of varying degrees.
Then cartwheels. It doesn't have to be a pretty cartwheel. The point is that the hips are getting over the shoulders as you practise, and you're getting more and more comfortable with the falling. Out to the side, never over the top.
Keep it light. A cartwheel out costs almost nothing, which is why it's the one you keep. Fall out of a handstand into a roll and you won't want to kick back up. Fall out into a cartwheel and you can go straight back in.
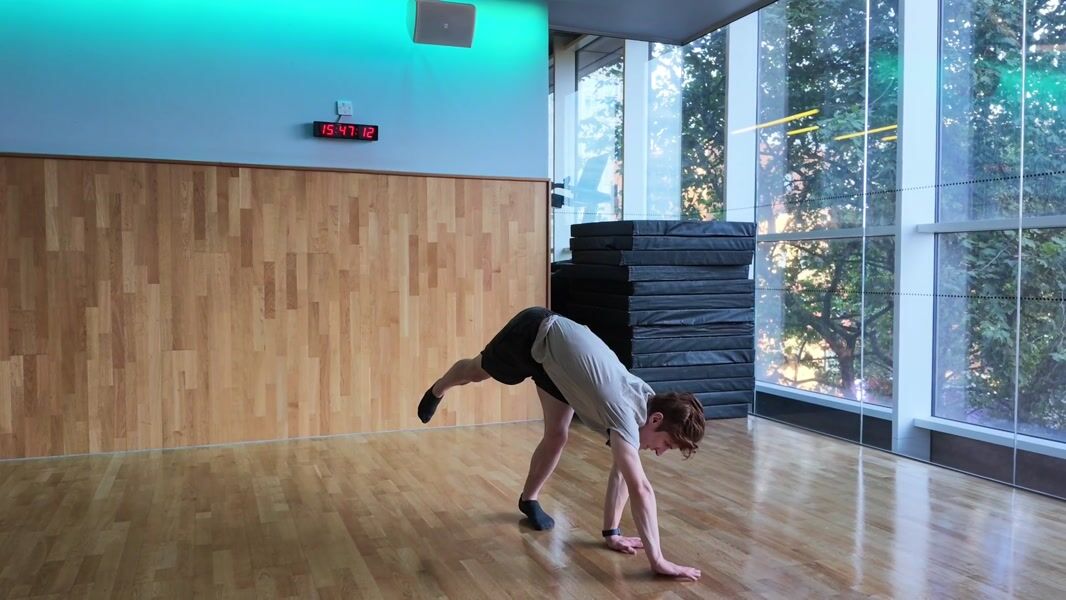 1Hands down, hips highA low one to begin with.
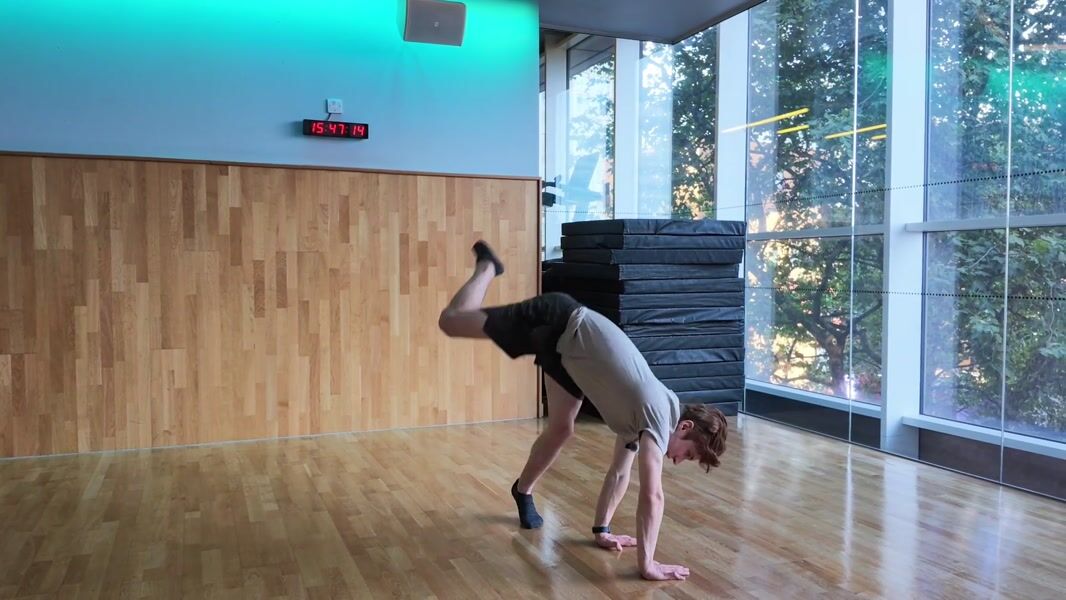 2Kick up a littleNo more than feels easy.
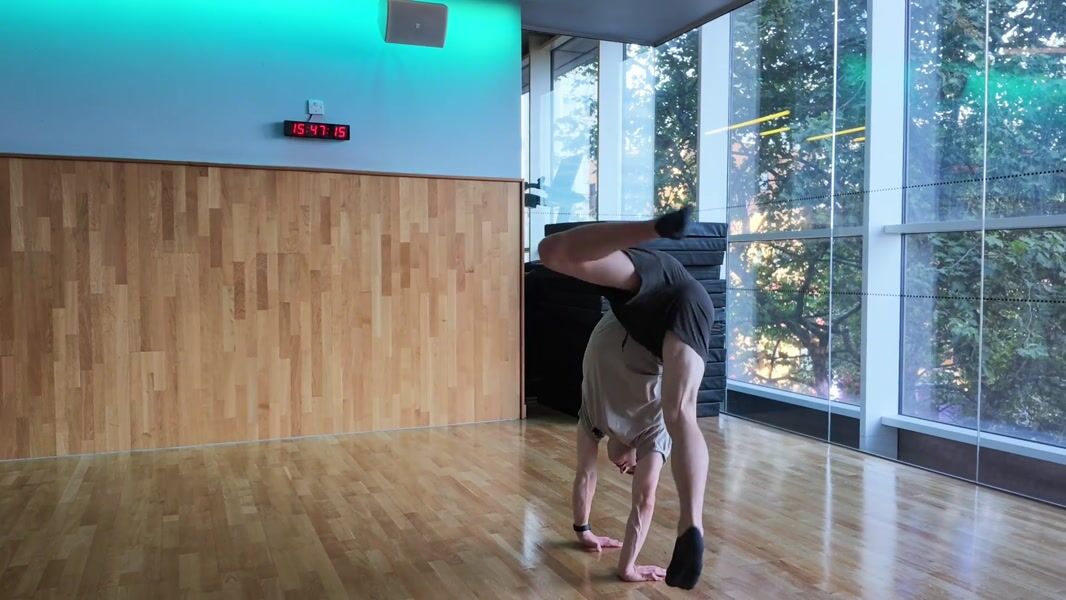 3Hips over the shouldersThis is the bit that matters.
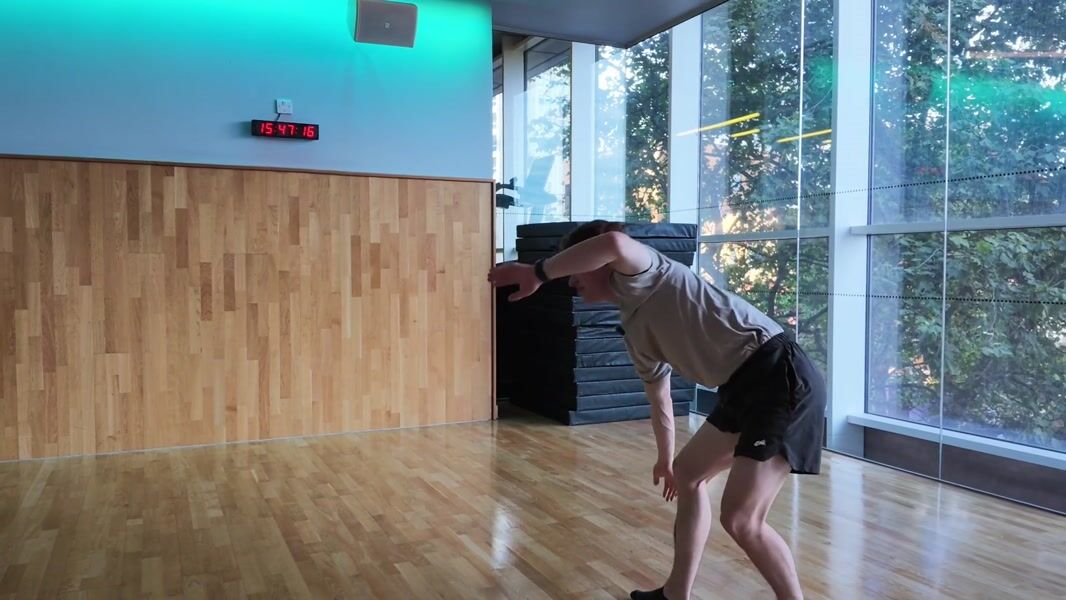 4Out to the side, on your feetOne hand steps, you turn, feet land one after the other.
Same idea, all the way over. You don't need this to start.
Hips over the shoulders is the whole point. It only has to get you out to the side on your feet.
Kick up bounces.
Kick up bounces are really good for getting comfortable kicking up. They drill the comfort of kicking up over and over without building each one up into a big deal. Shoulders over the hands, hips start high, and look between the hands. Then kick up, come down light, and straight back up. Don't think about getting up to the wall at first. Just make the jumps bigger.
Keep the arms straight. Before you kick up and put your hands down, turn the biceps to face forward. It locks the arms a lot more. Building strength helps too, some bent arm strength included, because it stops feeling like you're struggling.
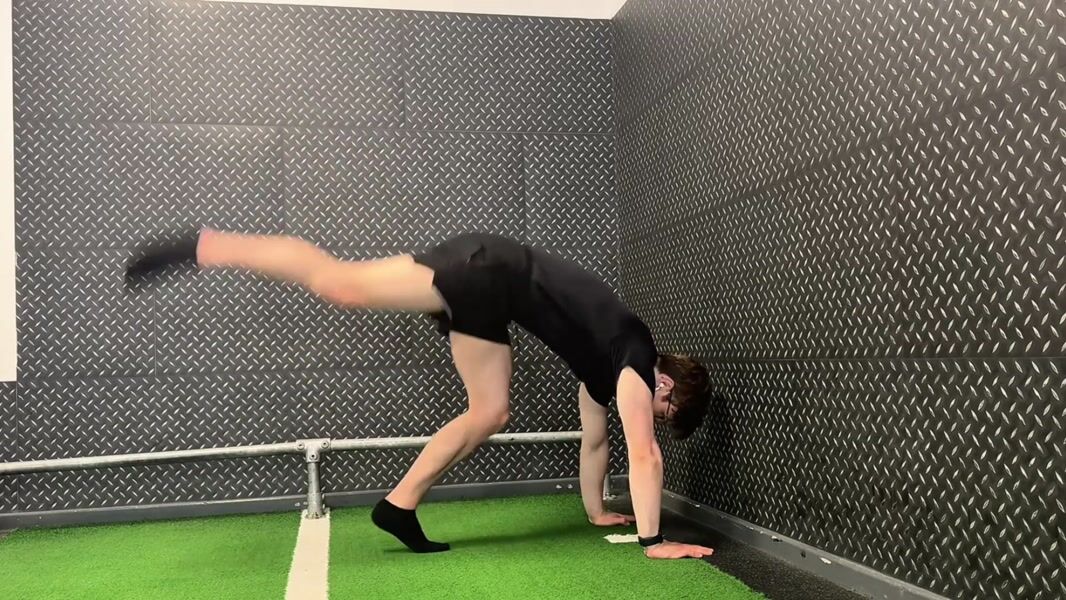 1Shoulders over the handsHips start high. Look between the hands.
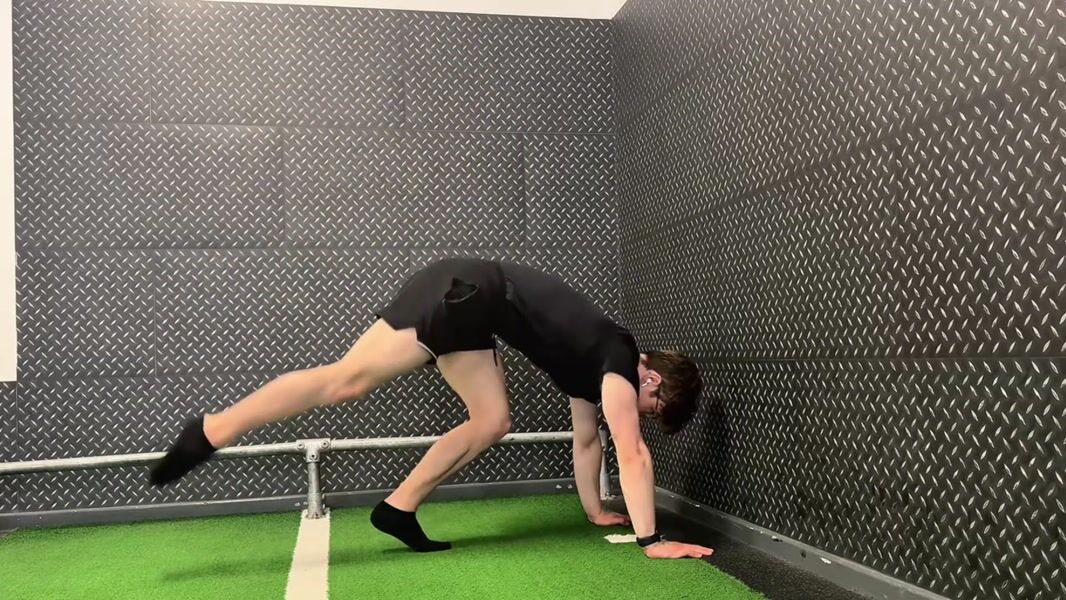 2Kick up, arms straightBiceps turned forward. Eyes stay between the hands.
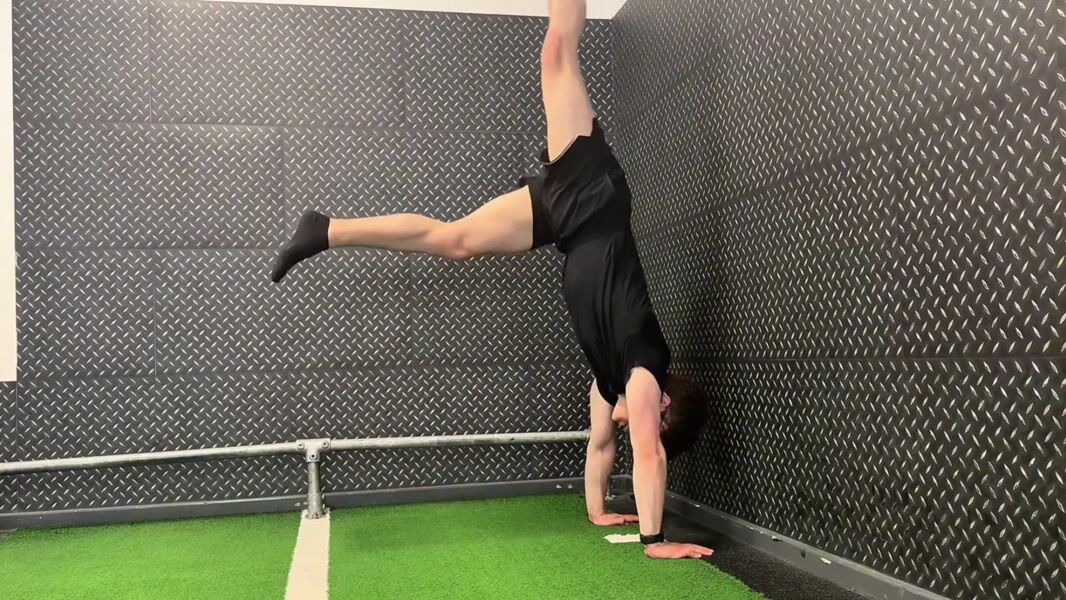 3Come down lightFeet back down, no crash.
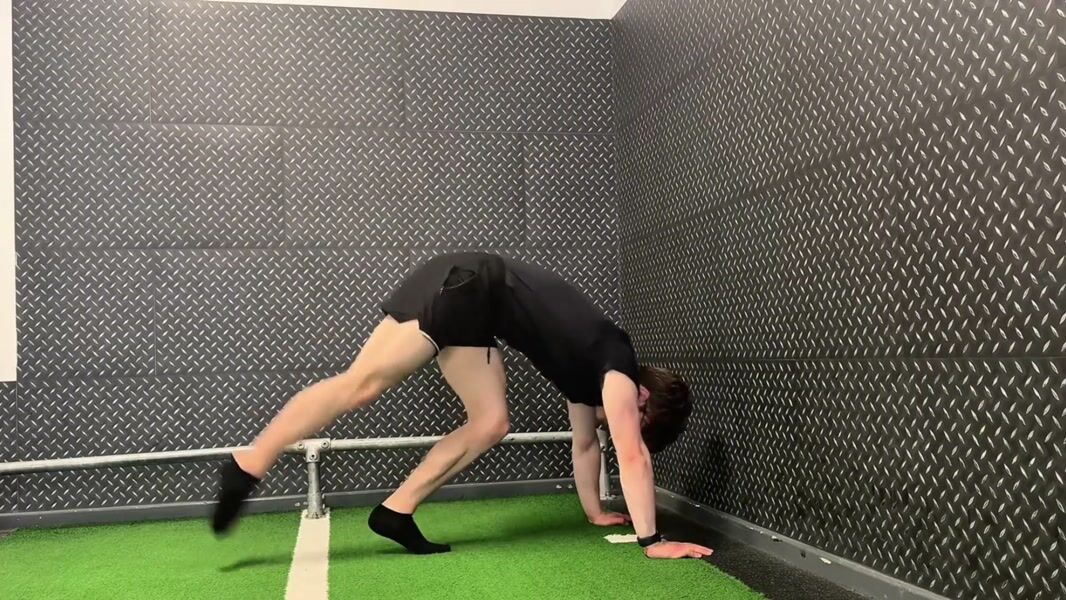 4Straight back up, a bit biggerDon't think about the wall yet.
Shoulders over the hands, hips high, eyes between the hands. Kick, come down light, go again, a little bigger each time. The wall comes later. The more of them you do, the less any one of them matters.
The chest to wall bail out.
As you get comfortable and start working towards the chest to wall handstand, practise crawling out to the side at each step as you walk in closer. Then you never get all the way chest to wall and think, oh gosh, how am I going to get down. You already know, because you did it one step out, and the step before that.
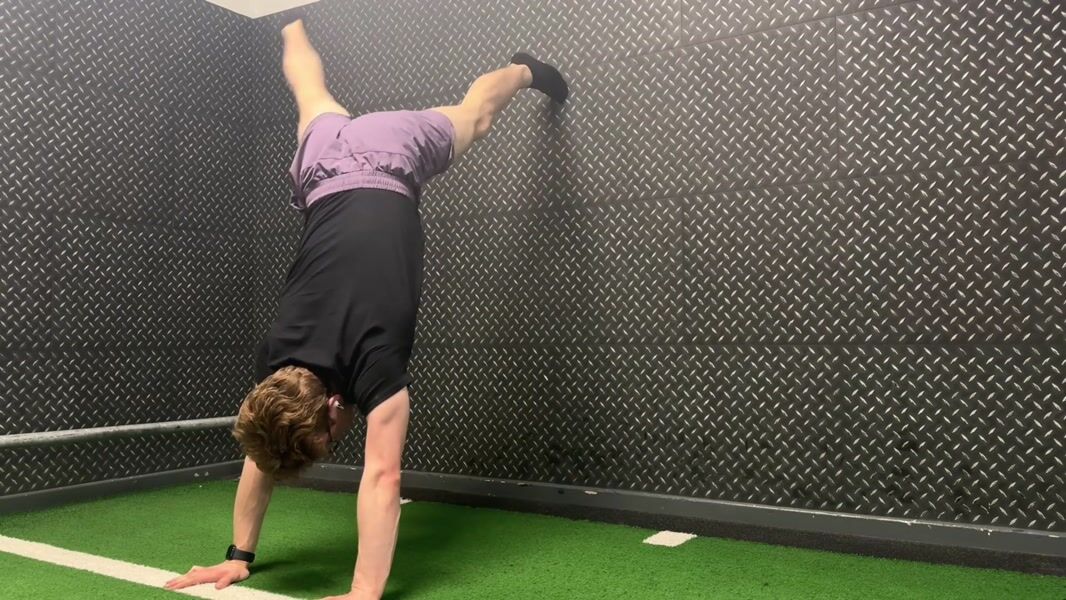 1Walk up with your hands a long way from the wallFurther out than 45 degrees to begin with.
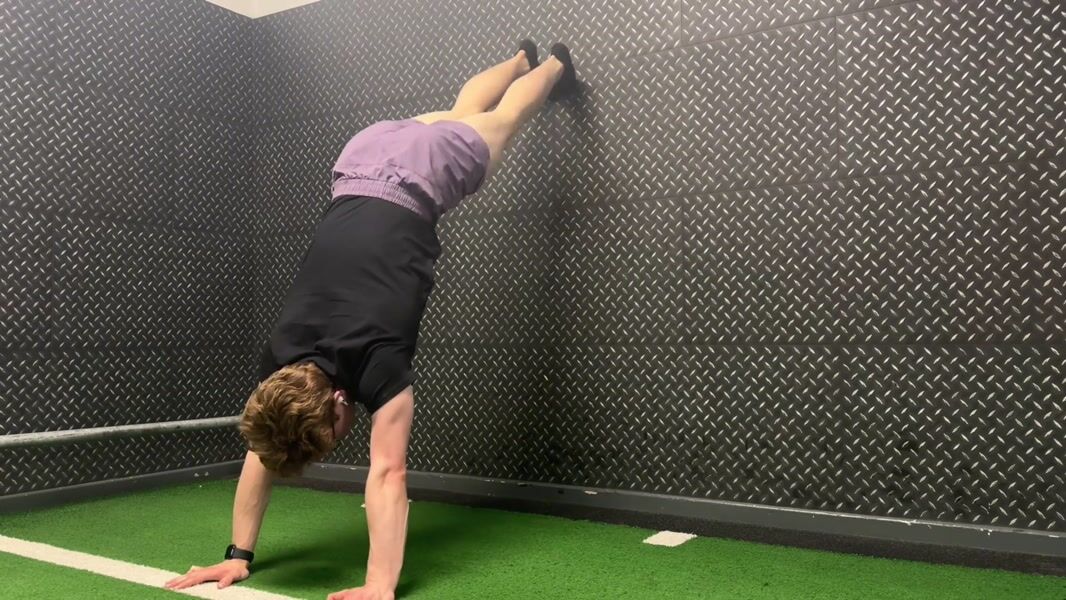 2Take one leg out to the sideUse it to bring that hip down towards the floor.
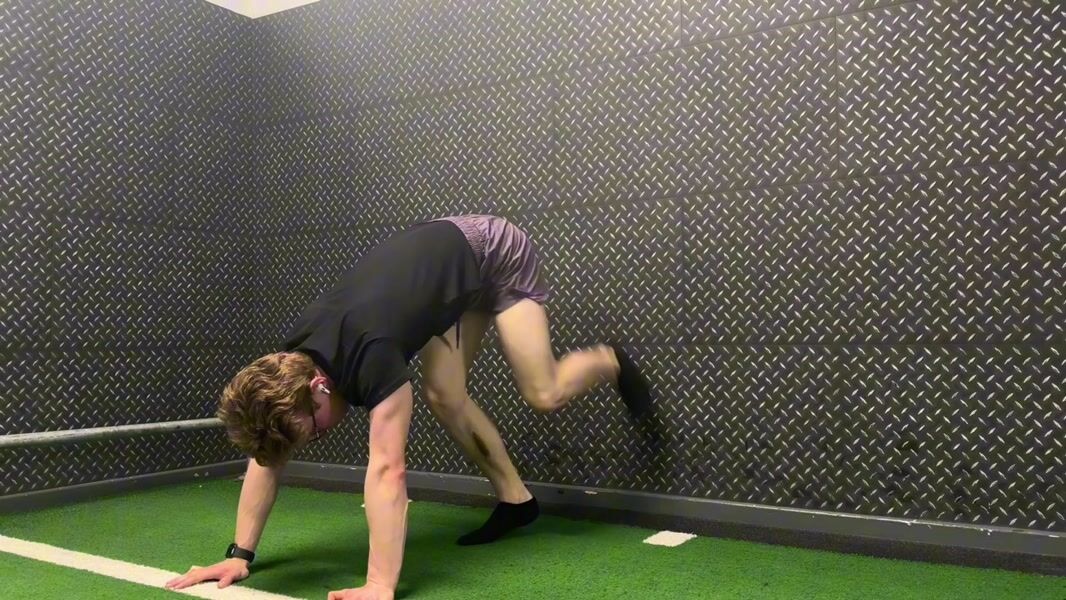 3Step one hand out and twistOut to the side, away from the wall.
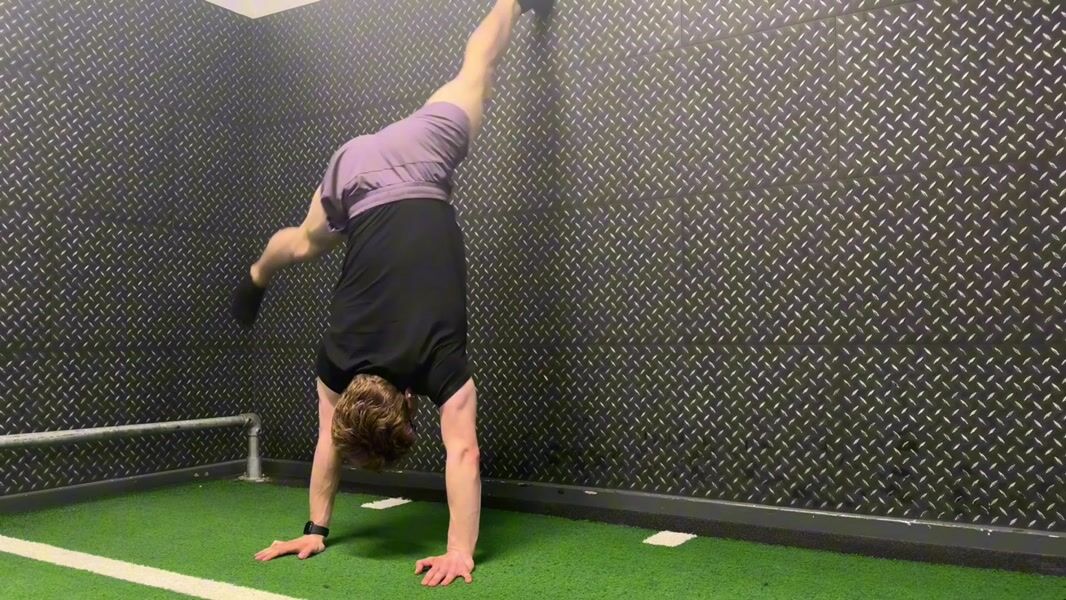 4Back on your feetFacing away from the wall, standing.
Walk the hands in. As it gets comfortable, start a bit closer to the wall each time, until you can bail from a full chest to wall handstand.
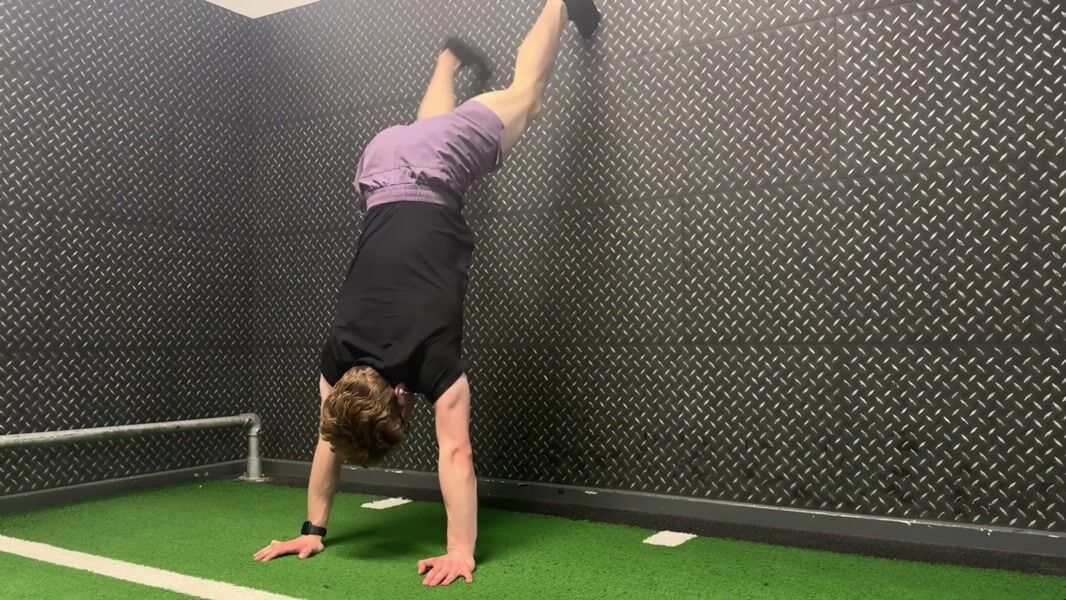
Kick up with a partner.
Get a partner to spot you when you kick up and help guide your legs down. At first they're showing you how to actually come down, hands on. Over time it becomes them saying, a leg, okay, and you take it down and out to the side yourself, so you're practising the way of falling out. Then the spot gets lighter and lighter until you're doing it on your own.
This is what happens in a class. It's the fastest way through, because someone else holds the fear while your body learns the move.
- 1They guide your legs downHands on. You feel the way down.
- 2They say the wordA leg, okay. You take it down and out to the side.
- 3The spot gets lighterUntil it is just you.
Until it is automatic.
The goal isn't being able to bail out. It's falling out safely without a thought, in your conscious mind and your subconscious mind both.
Practise these over a series of weeks, depending on what level you're at, until there isn't any fear when it comes to falling off the wall. Then you stop thinking about falling and start thinking about holding, and that's when you can really start learning to balance.
Suryava and I talk through all of this, and why the roll is the wrong default, in the app:
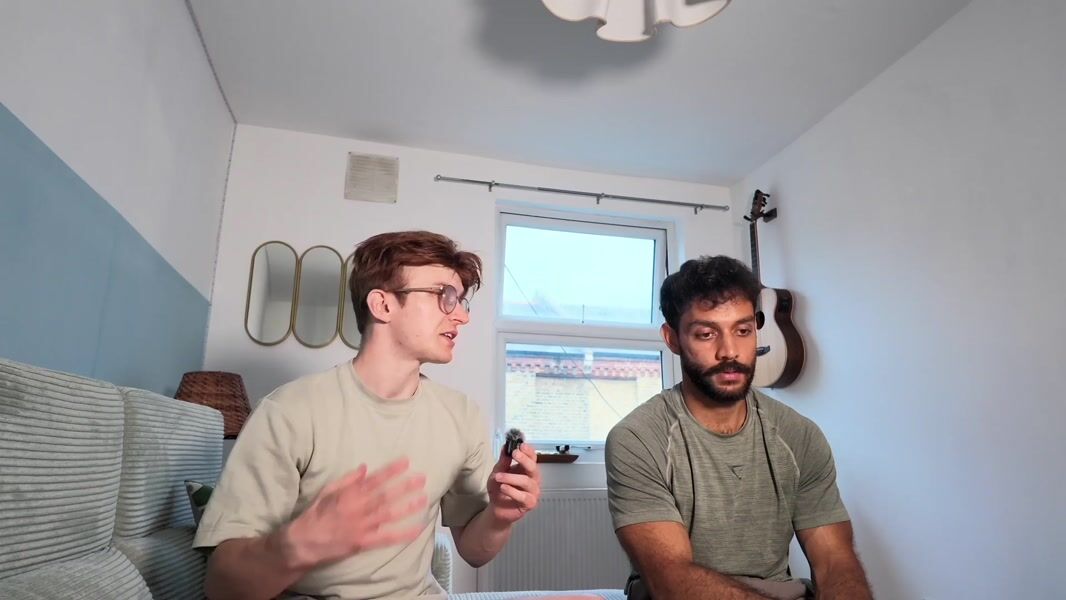
Free in the app, and in the room on Saturdays.
Every drill on this page is filmed with cues in the Handstand Ladder app. Foundations is free, no account needed. Or come to the All Levels class at OverGravity, Shadwell, where two coaches watch you do it.